
Creating a DeoMail account takes less than two minutes and gives you access to a secure, private email platform designed for custom domain email. In this guide, we will walk you through the exact steps to create your DeoMail account and verify your email.
Whether you are an individual, startup, or developer, setting up your DeoMail account is quick and simple.
Step 1: Visit the DeoMail Website
First, open your browser and go to the official DeoMail website.
On the homepage, click the “Get Started Free” button located in the top-right corner or in the main section of the page.
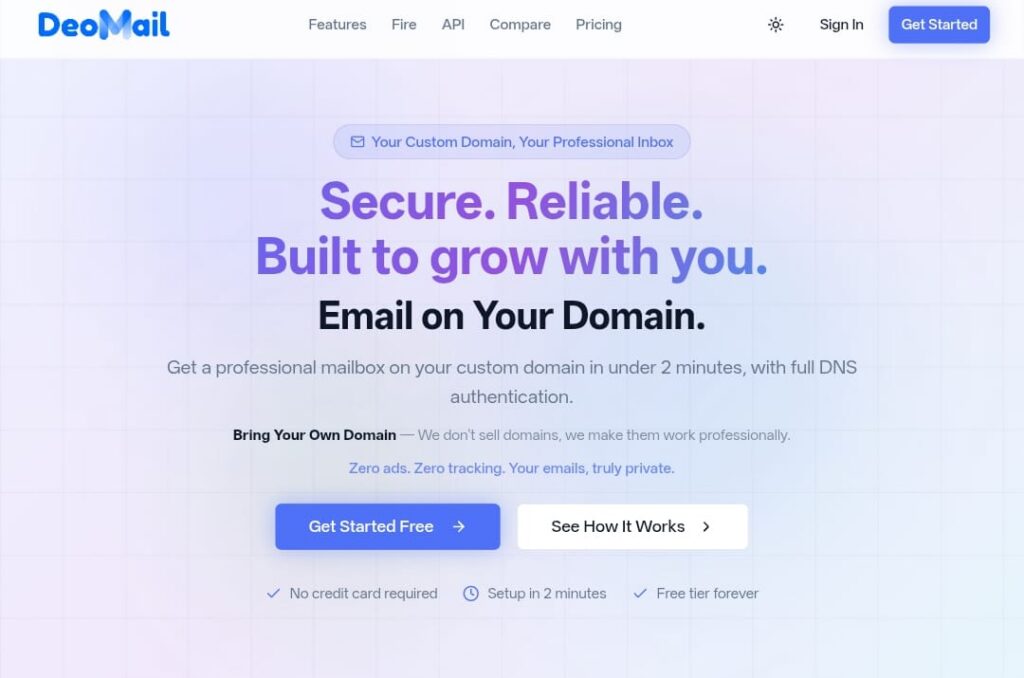
This will take you to the account creation page.
Step 2: Choose How You Want to Sign Up
Once you click Get Started, you will see several sign-up options.
You can create your account using:
- Email address
- Google account
- GitHub account
- LinkedIn account
")
For this tutorial, we will continue using the Email option.
Click Continue with Email.
Step 3: Enter Your Email Address
Now you will be asked to enter your email address.
Type your email address and click Continue.
")
DeoMail will check whether you already have an account associated with this email.
Step 4: Create Your Password
Next, you need to create a secure password for your account.
Enter:
- A password (minimum 6 characters)
- Confirm the password again

After entering your password, click Create Account.
Step 5: Check Your Email for Verification
After creating your account, DeoMail will send a verification email to your inbox.
")
Open your email and find the message from DeoMail.
If you don’t see it, check your spam or junk folder.
Step 6: Click the Verification Link
Inside the email, you will see a verification link.
Click the Confirm Email Address link to verify your account.

This link confirms that the email address belongs to you.
Step 7: Account Verification in Progress
After clicking the verification link, DeoMail will verify your account automatically.
")
Once verification is complete, your DeoMail account will be activated.
Your DeoMail Account Is Ready
Congratulations! 🎉
You have successfully created your DeoMail account.
You can now:
- Connect your custom domain
- Create professional email addresses
- Send and receive email
- Set up automation with DeoMail Fire
- Use the developer API
Why Choose DeoMail?
DeoMail is designed for modern email communication with a focus on privacy and simplicity.
Key features include:
- Custom domain email hosting
- Secure encrypted email delivery
- Built-in email automation with Fire
- API access for developers
- No ads and no tracking
Get Started with DeoMail
If you haven’t created your account yet, you can start here:
Setup takes less than 2 minutes and no credit card is required.
